|
Author
|
Message
|
|
ian57tbird
|
|
|
Group: Forum Members
Last Active: 2 days ago
Posts: 498,
Visits: 21.7K
|
You must be in lockdown with the Yblock to keep you company at the moment. I believe things are bad over your way.
|
|
|
|
|
capelo
|
|
|
Group: Forum Members
Last Active: 5 Years Ago
Posts: 279,
Visits: 4.5K
|
ian57tbird (3/20/2020)
You must be in lockdown with the Yblock to keep you company at the moment. I believe things are bad over your way. Unfortunately this is the case in these difficult times, here there are already more than 20,000 infected and more than 1,000 deaths, we all have to fight together from our homes 💪💪
|
|
|
|
|
Ted
|
|
|
Group: Administrators
Last Active: 2 days ago
Posts: 7.5K,
Visits: 205.8K
|
capelo (3/20/2020)
In my case I only have two options, or only static or dynamic balance but without placing the counterweights, which in that case I do not know if it is of any use. I had already read your articles and I know the importance of doing things well, thanks for sharing, but if a dynamic balance is not done, will this affect any type of circulation or only in high revs? The crankshaft becomes underbalanced when not rebalanced to match the heavier combined weight of the rods, pistons, rings, bearings. Any crankshaft imbalance that is present in this circumstance becomes more severe at the rpm goes up. In this instance the crankshaft would need weight added to the counterweights at both ends in which to compensate. When going to the other end of the scale where the bobweight value is lighter than what the crankshaft was originally balanced to, then the crankshaft becomes overbalanced. In this instance the amount of imbalance at high rpm becomes less. To correct for those cases where the crankshaft is too heavy, weight is removed from the counterweights in which to compensate. In the grand scheme of things, crankshafts can tolerate a given amount of overbalance but are unforgiving in any amount of underbalance. Part of the reasoning for balancing any engine during the rebuild process is to provide a balance that is better than what was supplied by the factory. A secondary reason is to compensate for any non-factory parts and machine work that is performed. While it’s a given that weight balancing only the connecting rods and pistons will help, only by rebalancing the crankshaft and other related parts is the job truly complete. If it’s not possible to balance the crankshaft, then at bare minimum at least have the flywheel, clutch, and pressure plate spin balanced on an arbor. Be sure the pressure plate is marked or indexed to the flywheel so it can be reinstalled on the flywheel at the same position it was balanced. The clutch disk is balanced separately on an arbor by itself and not with the flywheel and pressure plate assembly. As the revised bobweight value for the crankshaft gets further away from the original factory balance value, so does the need for an increase in amount of work that is required to rebalance the crankshaft. In going through some of my notes on Ford Y-Block balancing, the typical bobweight values for stock 292 rebuilds are in the 2032-2116 gram range. Replacement piston weights are the cause for that range of values to be so wide spread. What I don’t have are the original piston weights with any of this data which would give a better feel for what the original factory bobweight value would have been. While the 2095 gram bobweight value that you need is within the aforementioned range, it is on the heavy side of average although it barely falls at the edge of the one standard deviation value from the mean of the values. Here’s the data from which I made those assumptions.
  Lorena, Texas (South of Waco) Lorena, Texas (South of Waco)
|
|
|
|
|
capelo
|
|
|
Group: Forum Members
Last Active: 5 Years Ago
Posts: 279,
Visits: 4.5K
|
Ted (3/22/2020)
capelo (3/20/2020)
In my case I only have two options, or only static or dynamic balance but without placing the counterweights, which in that case I do not know if it is of any use. I had already read your articles and I know the importance of doing things well, thanks for sharing, but if a dynamic balance is not done, will this affect any type of circulation or only in high revs? The crankshaft becomes underbalanced when not rebalanced to match the heavier combined weight of the rods, pistons, rings, bearings. Any crankshaft imbalance that is present in this circumstance becomes more severe at the rpm goes up. In this instance the crankshaft would need weight added to the counterweights at both ends in which to compensate. When going to the other end of the scale where the bobweight value is lighter than what the crankshaft was originally balanced to, then the crankshaft becomes overbalanced. In this instance the amount of imbalance at high rpm becomes less. To correct for those cases where the crankshaft is too heavy, weight is removed from the counterweights in which to compensate. In the grand scheme of things, crankshafts can tolerate a given amount of overbalance but are unforgiving in any amount of underbalance. Part of the reasoning for balancing any engine during the rebuild process is to provide a balance that is better than what was supplied by the factory. A secondary reason is to compensate for any non-factory parts and machine work that is performed. While it’s a given that weight balancing only the connecting rods and pistons will help, only by rebalancing the crankshaft and other related parts is the job truly complete. If it’s not possible to balance the crankshaft, then at bare minimum at least have the flywheel, clutch, and pressure plate spin balanced on an arbor. Be sure the pressure plate is marked or indexed to the flywheel so it can be reinstalled on the flywheel at the same position it was balanced. The clutch disk is balanced separately on an arbor by itself and not with the flywheel and pressure plate assembly. As the revised bobweight value for the crankshaft gets further away from the original factory balance value, so does the need for an increase in amount of work that is required to rebalance the crankshaft. In going through some of my notes on Ford Y-Block balancing, the typical bobweight values for stock 292 rebuilds are in the 2032-2116 gram range. Replacement piston weights are the cause for that range of values to be so wide spread. What I don’t have are the original piston weights with any of this data which would give a better feel for what the original factory bobweight value would have been. While the 2095 gram bobweight value that you need is within the aforementioned range, it is on the heavy side of average although it barely falls at the edge of the one standard deviation value from the mean of the values. Here’s the data from which I made those assumptions.
Thank you very much Ted for this explanation and for the option presented. I'm going to try to do the best job possible in this section. Changing the subject, if everything goes well at the end of the week I will have everything necessary to start the motor assembly and I would like to hear your advice and tricks for an optimal and smooth assembly. Thank you Carlos
|
|
|
|
|
Ted
|
|
|
Group: Administrators
Last Active: 2 days ago
Posts: 7.5K,
Visits: 205.8K
|
capelo (3/23/2020)
...Changing the subject, if everything goes well at the end of the week I will have everything necessary to start the motor assembly and I would like to hear your advice and tricks for an optimal and smooth assembly. Thank you Carlos The best piece of advice I can give you is to have someone familiar with engine building and/or assembly watching over your shoulder while you put the engine together. There are many little details that can get overlooked if you are not aware of them. There have been books written on this subject so there are only just a few items I can mention in just a few lines. But I will touch on some of the important things to watch for during the short block assembly. Double clean everything before assembly Use sealer on all oil galley plugs Check the ring end gaps on the rings before installing them on the pistons Bevel the edges of the oil ring rail gaps so there are no sharp edges to scratch the cylinder walls Install the rings on the pistons using a tool for that purpose. Do not twist the rings onto the pistons. Use plenty of oil or lubricant on all parts Soak the timing chain in oil before installing Insure that the camshaft turns freely Verify that the camshaft end play is adequate Make sure you have crankshaft end play when tightening the main caps Use a feeler gauge between the rods when tightening those to insure you have no bearing twist Make sure the connecting rods are free in their sideways movement on the journals after tightening the rod bolts. Degree in the camshaft If you are using a roller type of timing chain, be careful where you put pressure on the backside of the chain in which to remove it. Pry the chain forward by concentrating on the flats between the pins and not the pins themselves.
Lorena, Texas (South of Waco)
|
|
|
|
|
capelo
|
|
|
Group: Forum Members
Last Active: 5 Years Ago
Posts: 279,
Visits: 4.5K
|
Ted (3/24/2020)
capelo (3/23/2020)
...Changing the subject, if everything goes well at the end of the week I will have everything necessary to start the motor assembly and I would like to hear your advice and tricks for an optimal and smooth assembly. Thank you Carlos The best piece of advice I can give you is to have someone familiar with engine building and/or assembly watching over your shoulder while you put the engine together. There are many little details that can get overlooked if you are not aware of them. There have been books written on this subject so there are only just a few items I can mention in just a few lines. But I will touch on some of the important things to watch for during the short block assembly. Double clean everything before assembly Use sealer on all oil galley plugs Check the ring end gaps on the rings before installing them on the pistons Bevel the edges of the oil ring rail gaps so there are no sharp edges to scratch the cylinder walls Install the rings on the pistons using a tool for that purpose. Do not twist the rings onto the pistons. Use plenty of oil or lubricant on all parts Soak the timing chain in oil before installing Insure that the camshaft turns freely Verify that the camshaft end play is adequate Make sure you have crankshaft end play when tightening the main caps Use a feeler gauge between the rods when tightening those to insure you have no bearing twist Make sure the connecting rods are free in their sideways movement on the journals after tightening the rod bolts. Degree in the camshaft If you are using a roller type of timing chain, be careful where you put pressure on the backside of the chain in which to remove it. Pry the chain forward by concentrating on the flats between the pins and not the pins themselves. I will have the help of a mechanism but it is not experienced in this type of motors. I have acquired the book (Ford And Block Engines Hiw I rebuilt and Modify) and I have read many forums, posts and comments about these engines, but you never read or know everything, that's why I always like to ask. I am clear about the cleaning of the parts, sealing and pre-greasing of all the parts, checking the tolerances etc but there are always doubts that I will be moving. About what you said about the beveling of the edges of the oil rings, what you mean, I don't quite understand what it means, an image would open my eyes. I have some doubts about the ring mottling, about which is the first and second rings (I put pictures). I also have the question of whether or not some type of lubrication should be used both in the rings and in the cylinders when its installation. Since there is an expression in the ring information that I don't understand "NEVER USE PLATED RINGS IN PLATED CYLINDERS (CONTAC RING ENGINEERING FOR CORRECT APPLICATION)" 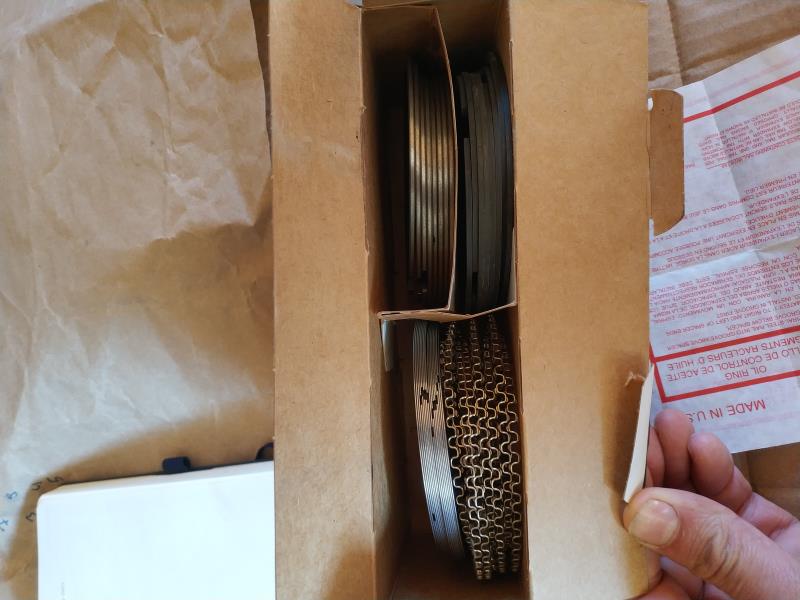 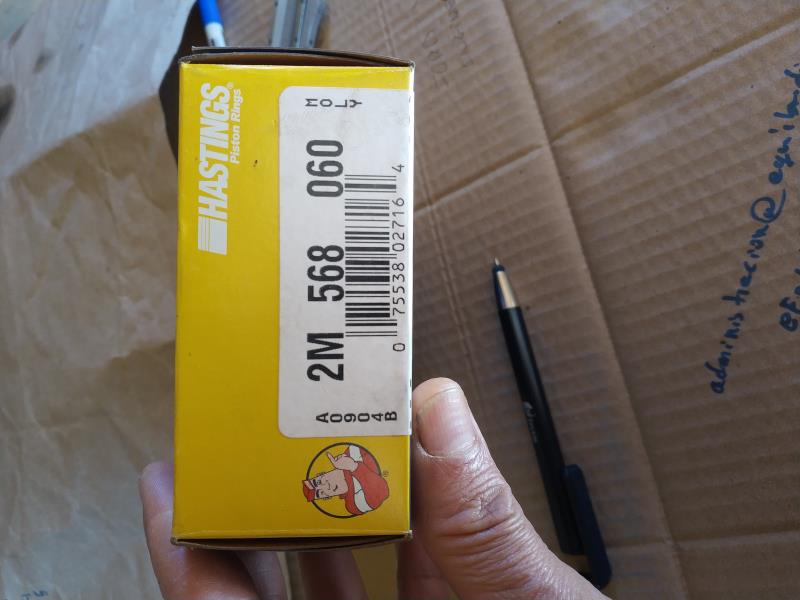
|
|
|
|
|
kevink1955
|
|
|
Group: Forum Members
Last Active: 2 Years Ago
Posts: 236,
Visits: 237.6K
|
I cannot help with the rings but if you are using the early edtion Eckman book do not use the photo of how to install the timing chain, it's wrong. I forget the number of pins between timing marks (12 I think) but the picture shows them on the wrong side of the engine. If your helper is not used to Y blocks he may want to line up the timing marks, dont to that either. Thats not how it works on a Y block
I think their was a good install guide on Ted's site, use it and you will have no problems
|
|
|
|
|
capelo
|
|
|
Group: Forum Members
Last Active: 5 Years Ago
Posts: 279,
Visits: 4.5K
|
On the above mentioned I have read about the space between the ends of the rings has to be 0.004 "per inch of the cylinder hole, which in my case would be 3.8100" with what that space would be 0.015 ".
On the axial games and the clearances, I have read:
crankshaft end play 0.001 "to 0.006". Camshaft end play 0.001 "to 0.006". Maximum clearance between rods 0.019 ". Is all this correct or should we add something new?
|
|
|
|
|
capelo
|
|
|
Group: Forum Members
Last Active: 5 Years Ago
Posts: 279,
Visits: 4.5K
|
Another question I have is about the position of the rods in the motor because the marks are not reliable and the previous assembly is not if it was adequate, the grooves where the bushings are fixed is the part that goes to the outside of the block ? 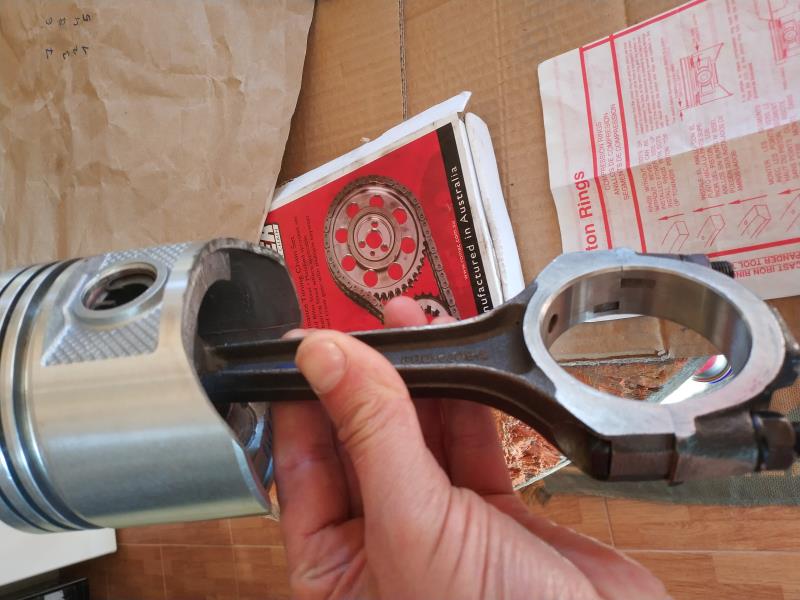
|
|
|
|
|
capelo
|
|
|
Group: Forum Members
Last Active: 5 Years Ago
Posts: 279,
Visits: 4.5K
|
kevink1955 (3/24/2020)
I cannot help with the rings but if you are using the early edtion Eckman book do not use the photo of how to install the timing chain, it's wrong. I forget the number of pins between timing marks (12 I think) but the picture shows them on the wrong side of the engine. If your helper is not used to Y blocks he may want to line up the timing marks, dont to that either. Thats not how it works on a Y block I think their was a good install guide on Ted's site, use it and you will have no problems thanks for the comment, I have that part well pointed, but since you comment, I will use Rollmaster red series and the camshaft that puts in the image below, the advance will be 2 ° as indicated by the paper, this is going for Ted 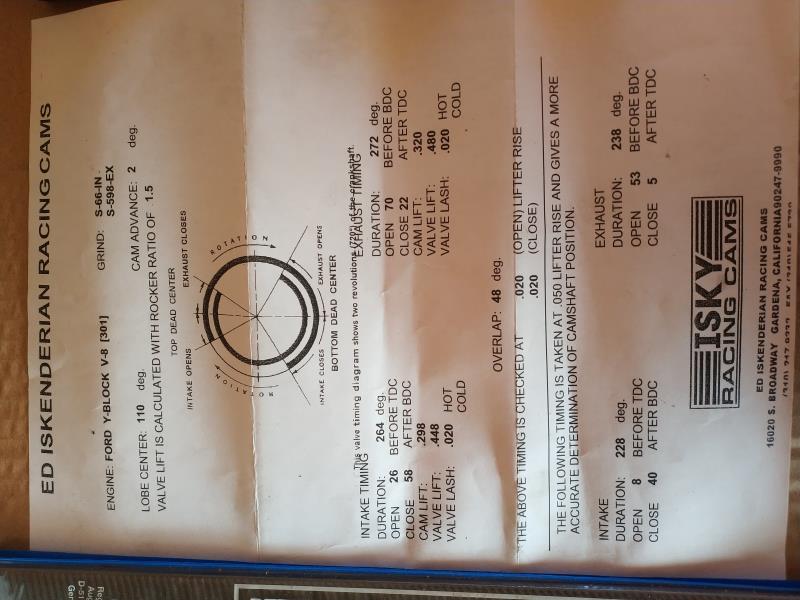
|
|
|
|